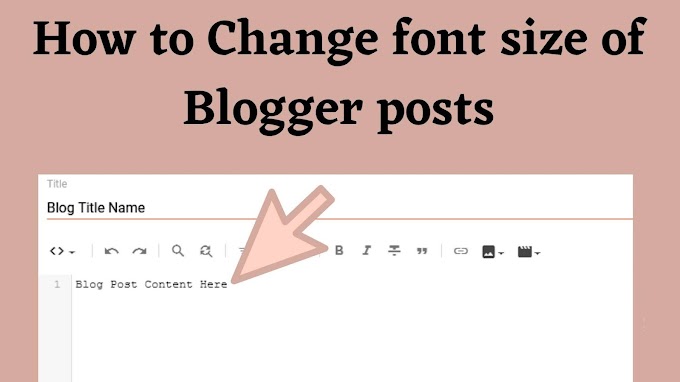
Having quality content on your blog is essential, but if the text in your Blogger posts is not easily readable, it can diminish the impact of your content. Visitors to your blog will quickly lose interest if they struggle to read your blog posts. To ensure your audience stays engaged, it's important to increase the font size of your blog posts until the text becomes easily readable.
Increasing the font size of your Blogger blog posts is a simple process. By default, the font size in Blogger is set to a small size. However, you can easily customize the font size using specific script code in your Blogger template. To ensure optimal readability, it is recommended to use a font size ranging from 16 to 18 for your blog posts.
A quick guide to adjusting font sizes in blogger post
In this post, I will provide you with the necessary information on how to change the font size of your Blogger posts.
To increase the font size of your Blogger blog posts, follow these steps:
To increase the font size of your Blogger blog posts, follow these steps:
1. Blogger dashboard
Go to the Blogger dashboard by logging in to your Blogger account. Once you are logged in, you will be directed to the Blogger dashboard, which is the main control panel for your blog.
2. Theme option
In the Blogger dashboard, locate the "Theme" option from the left-hand menu and click on it. This will take you to the "Theme" settings page. On this page, you will see an overview of your current theme and customization options.
Within the "Theme" settings page, look for the "Edit HTML" button or link. Click on it to access the HTML code of your Blogger template. This will allow you to make modifications to the code, including adjusting the font size of your blog posts.
Within the "Theme" settings page, look for the "Edit HTML" button or link. Click on it to access the HTML code of your Blogger template. This will allow you to make modifications to the code, including adjusting the font size of your blog posts.
Please note that editing the HTML code requires caution, and it's always a good idea to back up your template before making any changes. (alert-warning)
3. Use the "Find" function to locate the relevant CSS code
After accessing the HTML code of your Blogger template, you can use the "Find" function to locate the specific CSS code that controls the styling of the blog post body.
To do this, follow these steps:
- With the HTML code editor open, press "Ctrl + F" (or "Command + F" on Mac) to bring up the search bar.
- In the search bar, paste or type ".post-body{" (without quotes) and press Enter.
- The search function will locate the CSS code that starts with ".post-body{" within the HTML code. This code corresponds to the styling for the blog post content area.
4. Adjust the font size to 16px or 18px
Once you have located the CSS code associated with the ".post-body" class, you can modify the font size to your desired value, typically between 16px and 18px.
To change the font size, follow these steps:
- Within the ".post-body" CSS code block, look for the line that defines the font size property. It may appear as "font-size: <value>px;" or similar.
- Replace the existing value with either "16px" or "18px" to increase the font size. For example, you can modify the line to read "font-size: 16px;" or "font-size: 18px;".
- Make sure to save your changes by clicking on the "Save" or "Save Theme" button in the HTML editor.
By adjusting the font size to 16px or 18px, you will make the text larger and more readable within your Blogger blog posts. Feel free to experiment with different font sizes until you find the one that suits your preferences and enhances the readability of your content.


